Showing posts with label Easy Lace. Show all posts
Sunday 6 October 2013
Thursday 17 May 2012
Design Digest: Ammonite - Part 2
... in which, amongst other things, she talks about sock yarn, choosing a knitting project to suit your mood and the skill level required to knit an Ammonite.
When approaching a design, simplicity is sometimes best. I suppose this is the essence of my previous post on designing Ammonite. Once I had accepted this simple, yet fundamental rule, the design process assumed its own momentum. However, as already mentioned in Part I of my design digest, the first knitted sample turned out to resemble an Elizabethan collar rather than a generously sized, ruffled shawl.
Ammonite: First Test - Knit |
This was clearly down to my choice of yarn and a kfb - increase bonanza. Repeated attempts of ironing these faults out with the help of prolonged and intense blocking, yielded only very limited results and did not really seem to make much of an impact overall. It soon dawned on me that I needed to have a rethink on my choice of yarn and moderate my use of increases.
In the first instance I had a look at my stash, which was lacking sock yarn at the time. I briefly contemplated knitting a second Ammonite in Patons UK Misty, but decided against it in the end. I felt that cobweb - type mohair yarn would not give sufficient expression to the ribbed texture of the stitch motif. The answer, obviously, was to use sock yarn and so I went yarn shopping. Joy! (No, this time I really had to...;-) Of course, I had seen some very enticing sock yarns (100g @ £15.00) and even though these looked tempting, I decided to settle on a less costly alternative for two reasons:
Firstly, my pattern required a fair quantity of yarn, approximately 300g to be precise. And secondly, I did not want to overspend on materials, not knowing whether my pattern would actually be right for the materials chosen.
Mietze ... inspecting again |
Labels:
Ammonite,
Design Digest,
Easy Lace,
Knitglobal,
Knitting Projects - Easy,
lace knitting,
Original Designs,
Sock Yarn
Monday 7 May 2012
Saturday 28 April 2012
Ammonite - Free Shawl Knitting Pattern
Ammonite
Ammonite
is a generously sized, semi – circular, ruffled shawl. The garment
is knit from the centre top downwards / outwards, making the size
easily adjustable by adding or omitting sections when knitting the
body of the shawl. For a shawl measuring the same size as given in
this pattern, you will require approximately 290g (just under three
hanks) of 4ply Knitglobal sock yarn. The project is also suitable for
yarns of different weight. Should you wish to substitute yarn and
depending on the effect you are seeking to create, the needle size
has to be adjusted accordingly.
A gallery of Ammonites in a variety of yarns is available here.
The
body of the shawl features a simple cartridge rib stitch, giving the
garment a subtle texture that blends into its semi – circular
shape, whilst the top outer edge is worked in garter stitch
throughout. Kfb increases are utilised to give the shawl a ruffled
look. The bottom outer edge of the shawl is worked in stockinette
stitch. This is followed by a playful picot border, adding further
drape.
I
got the idea for the name when I was in the process of completing the
first test knit of the pattern. As I was binding off more and more
stitches, the garment slowly started to resemble an Ammonite.
Prototype of Ammonite in generic DK weight yarn |
- Size:
One
size – Adjustable by adding or omitting pattern repeats, when
working the body of the shawl.
- Finished Measurements:
Length
of straight edge - 1.55m
Height
at centre - 0.68m
(Note:
Measurements were taken after the shawl was blocked.)
- Yarn:
Knitglobal
4 ply Sock Yarn - (25% nylon, 75% superwash wool) 437yds / 400m per 100g hank
Colour: Plum
Quantity required: Just under three skeins / app. 290grams
Colour: Plum
Quantity required: Just under three skeins / app. 290grams
- Recommended Needle Size:
US#6
/ 4mm circular needle
- Other Materials / Tools:
One
darning needle and two stitchmarkers.
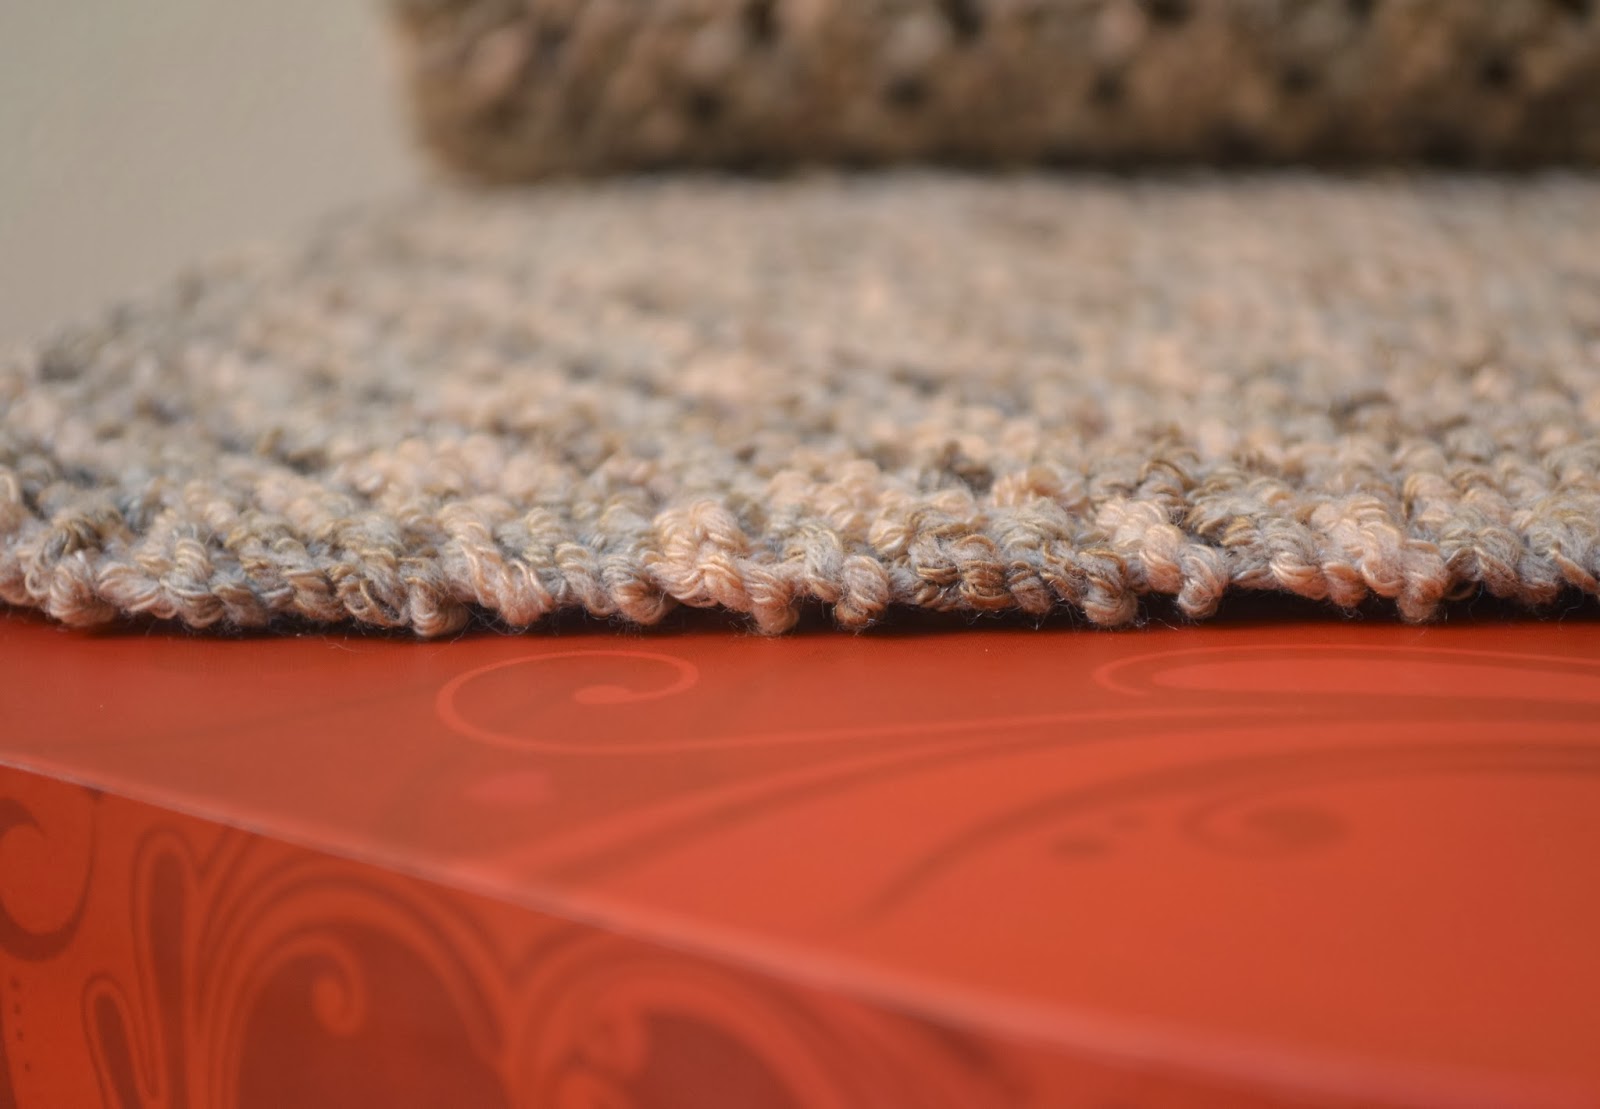
- Gauge:
Cartridge
Rib Stitch:
Row
1 : Knit Row 7: Knit
Row
2: Purl Row 8: Purl
Row
3: Knit Row 9: Knit
Row
4: Knit Row 10: Knit
Row
5: Purl Row 11: Purl
Row
6: Knit Row 12: Knit
Directions:
Shawl
Centre
Cast
- on 4 stitches, using the provisional (invisible) cast - on.
Rows
1 - 8: Knit
Row
9: Following completion of row 8, do not turn piece. Instead, turn
work on right hand needle 90 degrees clockwise. With left - hand
needle pick up and knit 4 stitches from the garter knots on the edge
of the piece. Once these stitches have been knit, you should have a
total of 8 stitches on the right hand needle. Turn piece on right
hand needle once again by 90 degrees clockwise. Remove waste yarn
from provisional cast – on edge and transfer all stitches to the
left hand needle. Knit the 4 remaining stitches. 12 stitches are now
on the right hand needle. Continue as follows:
Row
1[RS]: k4, pm, k4, pm, k4
Row
2 [WS]: k4, sm, p4, sm, k4
Row
3: k4, sm, [k1,
yo]
3 times, k1, sm, k4. 15
sts
Row
4: k4, sm, p7, sm, k4
Row
5: k4, sm, k7, sm, k4
Row
6: k4, sm, p7, sm, k4
Row
7: k4, sm, kfb in each st
to next marker,
sm, k4. 22
sts
Row
8: k4, sm, p14, sm, k4
Row
9: k4, sm, k14, sm, k4
Row
10: k4, sm, p14, sm, k4
Shawl
Body
- Note: Whilst the first and last four stitches on every row are knit throughout to produce a garter stitch edge, all stitches between the garter stitch edge are worked in cartridge rib stitch. In the following directions, “working in pattern” means to knit in cartridge rib stitch. Instructions for the cartridge rib stitch are set out above.
- All increases will take place on row 10 of every section.
1st
Section:
Row
1 [RS]: k4, sm, k to next marker, sm, k4
Row
2 [WS]: k4, sm, p to next maker, sm, k4
Row
3: k4, sm, K to next marker, sm, k4
Row
4: k4, sm, k to next marker, sm, k4
Row
5: k4, sm, p to next maker, sm, k4
Row
6: k4, sm, k to next marker, sm, k4
Row
7: k4, sm, k to next marker, sm, k4
Row
8: k4, sm, p to next maker, sm, k4
Row
9: k4, sm, k to next marker, sm, k4
Row
10: k4, sm, kfb in each st to next marker, sm, k4. 36 sts
Row
11: k4, sm, p28, sm, k4
Row
12: k4, sm, k28, sm, k4
2nd
Section:
Rows
1 – 9: Work in pattern.
Row
10: k4, sm, kfb in each st to next marker, sm, k4. 64 sts
Row
11: k4, sm, p56 to next marker, sm, k4.
Row
12: k4, sm, k56 to next marker, sm, k4.
3rd
Section:
Rows
1 – 9: Work in pattern.
Row
10: k4, sm, k2, [k1, kfb] 13 times, [kfb, k1] 13 times to final two
stitches before marker, k2, sm, k4. 90
sts
Row
11: k4, sm, p82 to next marker, sm, k4.
Row
12: k4, sm, k82 to next marker, sm, k4.
4th
Section:
Rows
1 – 9: Work in pattern.
Row
10: k4, sm, k2, [k2, kfb] 13 times, [kfb, k2] to final two stitches
before marker, k2, sm, k4. 116
sts
Row
11: k4, sm, p108 to next marker, sm, k4.
Row
12: k4, sm, k108 to next marker, sm, k4.
5th
Section:
Rows
1 – 9: Work in pattern.
Row
10: k4, sm, k3, [k2, kfb] 17 times, [kfb, k2] to final three stitches
before marker, k3, sm, k4. 150 sts
Row
11: k4, sm, p142 to next marker, sm, k4.
Row
12: k4, sm, k 142 to next marker, sm, k4.
6th
Section:
Rows
1 – 9: Work in pattern.
Row
10: k4, sm, k3, [k3, kfb] 17 times, [kfb, k3] to final 3 stitches
before marker, k3, sm, k4. 184 sts
Row
11: k4, sm, p176, sm, k4.
Row
12: k4, sm, k 176 to next marker, sm, k4.
7th
Section:
Rows
1 – 9: Work in pattern.
Row
10: k4, sm, k4, [k3, kfb] 21 times, [kfb, k3] 21 times to final 4
stitches before marker, k4, sm, k4. 226 sts
Row
11: k4, sm, p 218, sm, k4.
Row
12: k4, sm, k 218, sm, k4.
8th
Section:
Rows
1 – 9: Work in pattern.
Row
10: k4, sm, k4, [k4, kfb] 21 times, [kfb, k4] 21 times to final 4
stitches before marker, k4, sm, k4. 268 sts
Row
11: k4, sm, p 260, sm, k4.
Row
12: k4, sm, k 260, sm, k4.
9th
Section:
Rows
1 – 9: Work in pattern.
Row
10: k4, sm, k5, [k4, kfb] 25 times, [kfb, k4] 25 times to final 5
stitches before marker, k5, sm, k4. 318 sts
Row
11: k4, sm, p 310, sm, k4.
Row
12: k4, sm, k310, sm, k4.
10th
Section:
Rows
1 – 9: Work in pattern.
Row
10: k4, sm, k5, [k5, kfb] 25 times, [kfb, k5] 25 times to final 5
stitches before marker, k5, sm, k4. 368 sts.
Row
11: k4, sm, p 360, sm, k4.
Row
12: k4, sm, k 360, sm, k4.
11th
Section:
Rows
1 – 9: Work in pattern.
Row
10: k4, sm, k6, [k5, kfb] 29 times, [kfb, k5] 29 times to final 6
stitches before marker, k6, sm, k4. 426 sts
Row
11: k4, sm, p 418, sm, k4.
Row
12: k4, sm, k 418, sm, k4.
12th
Section:
Rows
1 - 9: Work in pattern.
Row
10: k4, sm, k6, [k6, kfb] 29 times, [kfb, k6] 29 times to final 6
stitches before marker, k 6, sm, k4. 484 sts
Row
11: k4, sm, p 476, sm, k4.
Row
12: k4, sm, k 476, sm, k4.
13th
Section:
Rows
1 - 9: Work in pattern.
Row
10: k4, sm, k7, [k6, kfb) 33 times, [kfb, k6] 33 times to final 7
stitches before marker, k7, sm, k4. 550 sts
Row
11: k4, sm, p 542, sm, k4.
Row
12: k4, sm, k 542, sm, k4.
14th
Section:
Rows
1 - 9: Work in pattern.
Row
10: k4, sm, k7, [k7, kfb] 33 times, [kfb, k7] 33 times to final 7
stitches before marker, k7, sm, k4. 616 sts
Row
11: k4, sm, p 600, sm, k4.
Row
12: k4, sm, k 600, sm, k4.
15th
Section:
Rows
1 - 9: Work in pattern.
Row
10: k4, sm, k8, [k7, kfb] 37 times, [kfb, k7] 37 times to final 8
stitches before marker, k8, sm, k4. 690 sts
Row
11: k4, sm, p 682, sm, k4.
Stockinette
Edging
Once
Row 12 of Section 15 has been completed, continue in stockinette
stitch for 13 rows as follows:
Row
1 [WS]: k4, sm, p to next marker, sm, k4.
Row
2 [RS]: k4, sm, k to next marker, sm, k4.
Rows
3 – 13: Continue in pattern (stockinette stitch) as outlined in Row
1 and 2, purling all stitches between the markers on uneven rows and
knitting all stitches on even rows.
Row
13 [WS]: k4, sm, p to next marker, sm, k4.
Picot
Bind – Off
*Using
the cable cast – on, cast - on two stitches. Next, bind off three
stitches. Return the single stitch on the right hand needle back on
to the left hand needle. Repeat from *. Continue until all remaining
stitches have been bound off.
Finishing:
List
of abbreviations:
co
– cast - on
k
– knit
kfb
– knit in front and back of stitch
p
– purl
pm
– place marker
sm
– slip marker
st
– stitch
sts
- stitches
yo
– yarn over
Should you require pattern support, please feel free to contact me via Ravelry or leave a comment below.
This pattern is for personal use only and may not be reproduced for commercial purposes without permission.
Monday 2 January 2012
Citron - Finally Finished
Citron in Patons UK Misty |
It's taken a fair bit of time to complete this project, three months to be precise. Nevertheless, Citron, a semi - circular shawlette, is finally finished. The pattern designer is Hilary Smith Callis and written instructions can be found in the winter 2009 edition of Knitty.
For this project I decided to attack my stash of Patons UK Misty, which I bought as a substitute for Rowan Kidsilk Haze. (More on substituting Rowan Kidsilk Haze with Patons UK Misty can be found in a previous blogpost.)
Citron in Patons UK Misty |
On the whole, I am happy with the yarn, even though it split unexpectedly on two occasions, but this was easily rectified.
Labels:
Destash,
Easy Lace,
Hilary Smith Callis,
Kidsilk Haze,
Knitting Projects - Easy,
Knitty,
lace knitting,
Patons UK Misty
Monday 13 June 2011
Meandering Vines
It's off the needles, it's finished blocking and here it is....
Meandering Vines in Paton's UK Vintage
For further blog entries about the project, please look here (on blocking
the garment) and here.
P.S. Now that I am the proud owner of a shawl, I will need to source a shawl pin.
Labels:
Artqualia,
Easy Lace,
Knitting Projects - Easy,
lace knitting,
Patons UK Vintage,
Susanna IC
Sunday 12 June 2011
Meandering Vines by Susanna IC - Almost Finished...
According to an earlier blog entry, I began to work on "Meandering Vines" back in March 2011. It seems so long ago and I started several other projects whilst knitting the shawl.
Meandering Vines |
Finally, after three months of knitting on and off, it is finished. Well, ... almost finished. It's currently blocking. The shawl is knitted in a relatively thick cotton / acrylic yarn (Paton's UK Vintage) and blocking was an absolute must on this project.
The pattern is simple and straightforward, and, as promised by the designer, it can be knit in pretty much every type of yarn. - An easy knit for the beginner lace knitter.
My blocking method is a little quirky (see below). I neither own a blocking board, which would accommodate the full length of the shawl, nor do I have blocking pins, which would be strong enough to hold the fabric in place.
Meandering Vines in Patons UK Vintage - Blocking in Progress |
After some deliberation I decided to suspend the shawl with the help of two pegged coat - hangers from the top shelf of the wardrobe. The triangular corners on either side of the shawl are fastened to both sides of the wardrobe with the help of some scrap yarn (inserted in the eyelet stitches and then tied to the sides of the wardrobe). A further two coat hangers keep the garment in place at the bottom of the wardrobe.
Once this arrangement was in place, I lightly misted the garment with cold water.
Pictures of the blocked garment can be found here.
Labels:
Artqualia,
blocking,
Easy Lace,
Knitting Projects - Easy,
lace knitting,
Meandering Vines,
Patons UK Vintage,
Susanna IC
Monday 14 March 2011
Lost in Lace - A Lace Knitting Newbie's Quest for a Suitable Project
...the Highs and Lows of my Weekend Lace Knitting Quest
Sitting on the bus late Friday evening after work, I thought about my weekend knitting. I have a habit of starting new projects during the weekend, as I am able to source patterns and I have enough time to engage in all the preparatory work (choosing yarn, knitting swatches etc.). During the week, I like to return to the project, pick up the needles and simply enjoy the process.
As of late and in my quest to find new challenges, I got increasingly attracted to lace knitting. Once I arrived home and after saying "hello" to the cats, I started to sift through my pattern library and dug out Susan Pierce Lawrence's scarf pattern for "Branching Out", which was featured in Knitty's spring 2005 edition.
Susan's design, though relatively straightforward, incorporates the most common increases and decreases the lace knitter is likely to encounter. Once you have gotten to grips with these, you will have gained confidence and are likely to master more complex lace patterns.
To have a look at the scarf, please click on the the link to Knitty below:
That it looked like the ideal project for the beginner lace knitter, is exactly what I thought. I started a trial with some cheap acrylic yarn. Owing to the yarn, my swatch didn't look great, but I wasn't prepared to waste posh(er) yarn during the first stages of my lace experiment.
After an hour or so, it clicked and I really got going. Mastering the stitch sequence wasn't all too hard and I went to bed with a great sense of achievement. sl2-k1-p2sso isn't scaring me anymore! Result.
I continued my lace experiment on Saturday, sorting through my stash and trying to locate a yarn that was going to be suitable, but I was in the end unable to find anything...I am sure a lot of knitters must be familiar with this scenario. You want to knit a pattern, you have a huge stash and not a single resident yarn is up to the job or would do the pattern justice. Oh, it is so frustrating!!! Friday's euphoria was followed by complete and utter frustration on Saturday.
Adamant that at least one yarn in my stash might be suitable for lace knitting, I decided to go on another pattern search and finally I succeeded. By now it was Sunday morning and I was close to giving up, when I remembered a pattern by designer Susanna IC - http://artqualia.com/. The pattern is called "Meandering Vines" (http://artqualia.com/patterns%205.html) and Susanna states in her introduction to the pattern that it's possible to knit the stole with just about any yarn, provided suitable needles are chosen.
It has to be said that Susanna's "Meandering Vines" is far less intricate than "Branching Out", but by now I just wanted to knit and get a project onto my needles.
I decided to trust Susanna and started a trial swatch with some of my Paton's Vintage (30% cotton and 70% Acrylic). I originally bought it in bulk from Kemp's as it was an absolute steal at £0.59, but never quite succeeded in finding a suitable pattern for it.
I am pleased to report that after Saturday's ordeal, Sunday turned out to be a success. Meandering Vines (in Patons Vintage - Burnished) is now firmly installed on my needles and I can return to my new project over the next few evenings. It is easy to memorise the pattern and I am anticipating a relaxed and enjoyable knit. Once I have used my stash of Paton's Vintage, I will go on a hunt for yarns to be used when knitting Susan Pierce Lawrence's "Branching Out".
For all those who wish to have a little venture into lace knitting, I strongly recommend you have a look at Susanna IC's website: http://artqualia.com/. There you will find Meandering Vines, a pattern every beginner can knit with virtually any yarn, alongside various other (sometimes free) lace patterns. It will be worth a visit...or maybe two!
Labels:
Artqualia,
Destash,
Easy Lace,
Knitty,
lace knitting,
Meandering Vines,
Patons UK Vintage,
Susan Pierce Lawrence,
Susanna IC
Subscribe to:
Posts (Atom)